There are basically two strategies for taking images:
- Expose a single frame for a long time
- Expose many individual frames for a short period of time each and average them together
The first method introduces several problems. First of all a long exposure can easily be ruined by a crossing airplane, bad tracking or if someone accidentally bumps the camera. Also, a long exposure will start to overexpose the brightest parts of the image, and no detail will therefore be recorded there. Finally there is the noise problem – the longer the exposure, the more noise. For these reasons the second method is preferable.
I do not have a motorized equatorial mount yet, so I have not used stacking to bring out faint objects. In stead I have been using the technique to make star trail images and in this post I will describe how I do it.
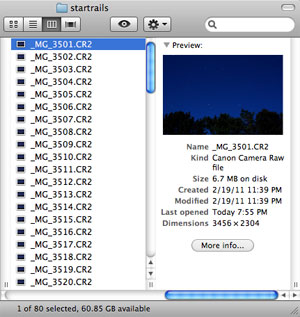
 I begin with 80 images. They are all in the RAW format, but any format will work. Each image is a 60s exposure of the night sky with some trees in the foreground. The tripod remained fixed throughout the shooting, so the trees are in the same place in each image, and a combined image will show the stars as trails across the sky.
At first I open all the images in Photoshop and go through them one by one to check if they are usable. A plane has crossed the field of view in image 74 and 75 and I therefore discard images 74-80. Just discarding image 74 and 75 would leave a hole in the star trails.
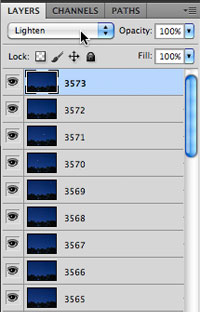
 Next I copy and paste each image into the same window. This turns them into layers. For each layer (except for the bottom one) I then change the blending mode to “lighten”. The easiest way to do this is to change the blending mode for just one layer, then right click and select “copy layer style”, select the rest of the layers and right click and select “paste layer style”.
And voilà – that’s it! You can see the result here.